
Easy Steps to Clean a Popcorn Ceiling at Home
Discover the best techniques for cleaning your popcorn ceiling with our step-by-step guide. This blog post covers everything from assessing your ceiling’s condition to choosing the right cleaning method, whether dry or wet. Learn how to tackle stubborn stains, protect your space, and maintain that classic textured look. Perfect for homeowners looking to refresh their ceilings without the hassle. Keep your popcorn ceiling looking pristine with these easy-to-follow tips!
8/27/20243 min read
The Quirky Charm of Popcorn Ceilings
Popcorn ceilings, with their distinctive texture, add a certain nostalgic charm to many homes. They’re a hallmark of mid-20th-century architecture, offering a unique aesthetic that can soften sound and hide imperfections. However, as with any architectural feature, they require a bit of TLC to keep them looking their best. Cleaning a popcorn ceiling might seem daunting at first glance, but with the right approach, it can be a straightforward and rewarding task. Let’s dive into the process and make your ceiling sparkle like new.
Assessing the Condition: Is Your Ceiling Ready for Cleaning?
Before jumping into the cleaning process, it’s crucial to assess the condition of your popcorn ceiling. Over time, these ceilings can become brittle, making them more susceptible to damage during cleaning. Take a close look at the texture. Is it flaking off in areas? Are there any cracks or discolorations? If your ceiling shows signs of wear, it may need a more delicate approach—or even professional attention—before you proceed with cleaning.
Gathering Your Tools: What You’ll Need to Get Started
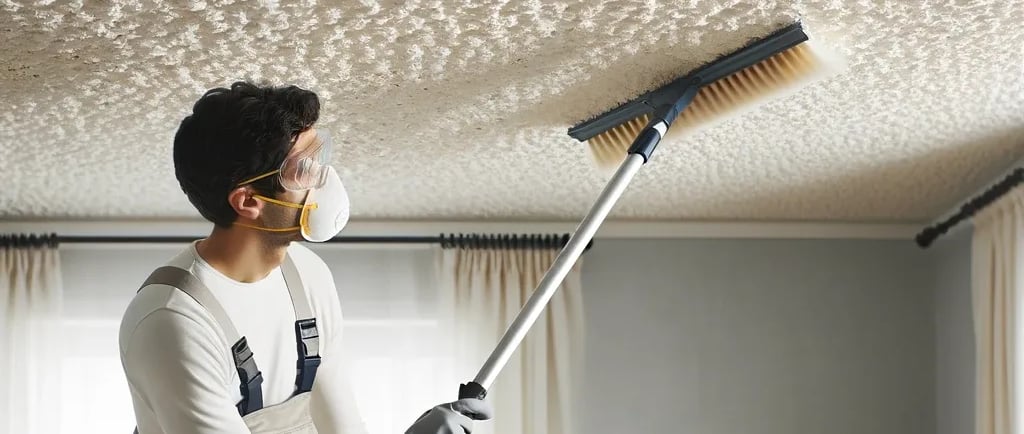
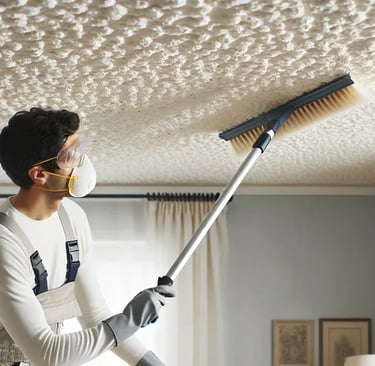
Having the right tools on hand is essential for a smooth cleaning process. For a basic clean, you’ll need a soft-bristle brush, a vacuum with a dusting attachment, a spray bottle, a gentle cleaning solution, and protective gear such as goggles and a dust mask. The protective gear is particularly important, as the cleaning process can dislodge dust and debris. By being prepared, you’ll ensure that the job is done efficiently and safely.
Prepping the Room: How to Protect Your Space
Cleaning a popcorn ceiling can get messy, so it’s important to prep the room beforehand. Start by removing smaller items and covering furniture with plastic sheets or old bed linens. Use drop cloths to protect your floors, and don’t forget to cover light fixtures and vents. This preparation not only makes the cleaning process easier but also helps prevent accidental damage to your belongings.
Testing the Ceiling: Checking for Asbestos Before You Begin
One of the most critical steps before cleaning is to test your ceiling for asbestos, especially if your home was built before the 1980s. Asbestos was commonly used in popcorn ceilings, and disturbing it can release harmful fibers into the air. You can purchase an asbestos testing kit or hire a professional to do the test. If asbestos is present, do not proceed with cleaning; instead, seek professional remediation.
Dry Cleaning Method: The Gentle Approach
For lightly soiled ceilings, a dry cleaning method is often sufficient and minimizes the risk of damaging the texture. Start with a soft-bristle brush, gently sweeping across the surface to dislodge dust and cobwebs. Alternatively, use a vacuum with a dusting attachment to carefully remove debris without pulling on the ceiling material. This method is ideal for regular maintenance and can help keep your ceiling looking fresh between deeper cleans.
Wet Cleaning Method: For Stubborn Stains and Dirt
When the dry method isn’t enough, a wet cleaning approach may be necessary. Begin by mixing a gentle cleaning solution—mild dish soap mixed with water usually works well. Fill a spray bottle with the solution and lightly mist the ceiling, taking care not to oversaturate it. Using a soft sponge, gently dab at the ceiling, lifting away dirt and stains without scrubbing, which could damage the texture. This method requires patience but is effective for more stubborn grime.
Spot Cleaning: Tackling Tough Spots Without Damaging the Texture
Even after a thorough cleaning, some areas may require extra attention. Spot cleaning allows you to target specific stains without re-cleaning the entire ceiling. Identify these stubborn spots, and use a small, damp sponge or cloth to gently clean the area. Be cautious with pressure—too much force can flatten or remove the popcorn texture, leaving an uneven finish.
Drying and Inspecting: Ensuring a Flawless Finish
After cleaning, proper drying is key to preventing water stains or mold growth. Ensure good air circulation in the room by opening windows or using fans. Once the ceiling is dry, take a step back and inspect your work. Look for any areas you may have missed or any new spots that need attention. If everything looks good, you can remove the protective coverings and admire your refreshed ceiling.
Maintenance Tips: Keeping Your Popcorn Ceiling Fresh and Clean
To keep your popcorn ceiling looking its best, regular maintenance is essential. Dusting with a soft brush or vacuum attachment every few months can prevent buildup. Avoid using harsh chemicals or abrasive tools that could damage the texture. Additionally, addressing spills or stains immediately can prevent them from becoming permanent fixtures. With these simple tips, you can maintain the quirky charm of your popcorn ceiling for years to come.
(609) 806 - 5565
help@freshlivingpc.com
Follow us on